The big plan for Fritz is for it to be all electric and capable of extended dry camping, meaning no campground, no plugging in to handy electric outlets, self-contained–and still comfortable. That’s kind of a big requirement to pull off without propane, but I think I’m in the ballpark. Most RV solar installations put a few 100-watt panels on the roof, squeezing them in between vents, air conditioners, and other roof stuff. The panels often get shaded, so the system output varies a lot. The biggest rooftop solar RV installation I’ve seen was 800 watts with tilting panels to optimize efficiency. That’s on a huge modern motorhome. I’m installing 1680 watts worth of PV on dinky little Fritz. Only one way to do that–build a raised frame and cover the entire roof.
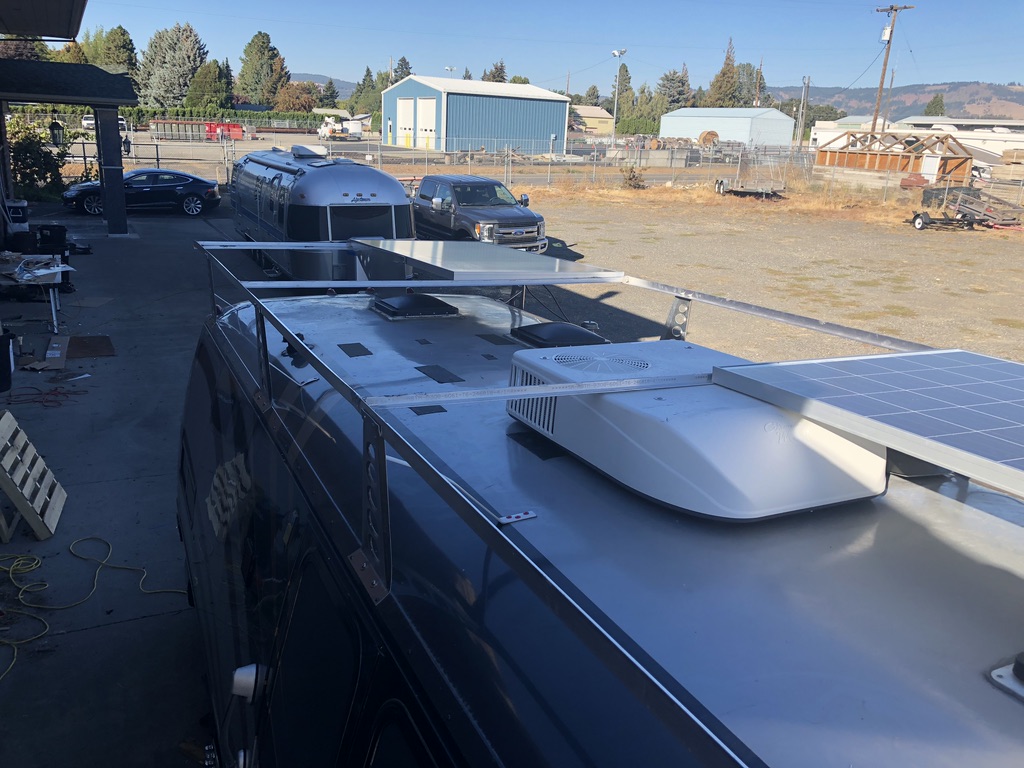
Most RV air conditioners are very tall, and I wanted to keep this installation as low profile and streamlined as possible. So I replaced the original perfectly serviceable air conditioner with a new Coleman Mach8 Ultra low-profile heat pump. The marketing literature says it’s just eight inches tall. They lie. It’s more like 9.5″, but that’s better than the 13 inches of the original system. And since I’ve ditched the propane furnace, the highly efficient heat pump makes good sense. I borrowed a scissor lift, and with a little help from a friend, got the air conditioner on the roof. I didn’t realize the installation framework and the ceiling unit were not included, so I had to wait a few more days for that. I suspect that DIY is not prevalent in the motorhome world. Everything seems aimed at professionals installing yet another air conditioner, not some goofball like me doing it for the first time. But I did it, and it’s fine.
Well maybe not completely fine, the solar cells are in close proximity to the air intake for the condenser fan, and this sucker is loud. I may need to do a lot of re-engineering. I’ll see if we can live with it before I jump into that, but I have some ideas I think are good.
My first design for the solar framework called for everything to be bolted together. I put it all in place, installed the first panel, and discovered it wasn’t rigid or strong enough. Back to the drawing board. I needed reinforcement in the middle of the frame, and I decided to weld the perimeter and the cross-braces together. That’s a lot of aluminum welding and takes a big space, but I want to get better at TIG welding aluminum, so I cleared space in the metalwork part of the shop, set up a lot of sawhorses, assembled the frame and started welding.
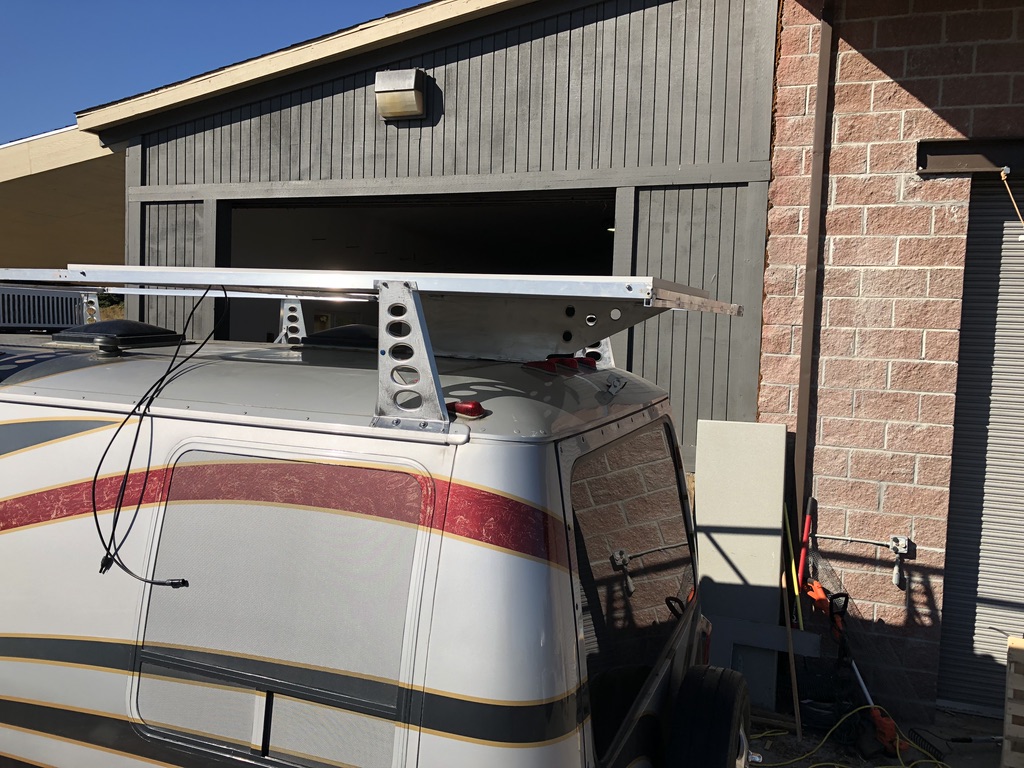
This is what it looked like before welding with one solar panel in place. Note the bowing of the front crosspiece
Here’s the front support in place. This is also the center rib of the wind deflector I’ll be adding later. I don’t need to be turning the coach into a MoHo version of Chitty-Chitty-Bang-Bang, or stressing the panel joint enough to turn them into frisbees.
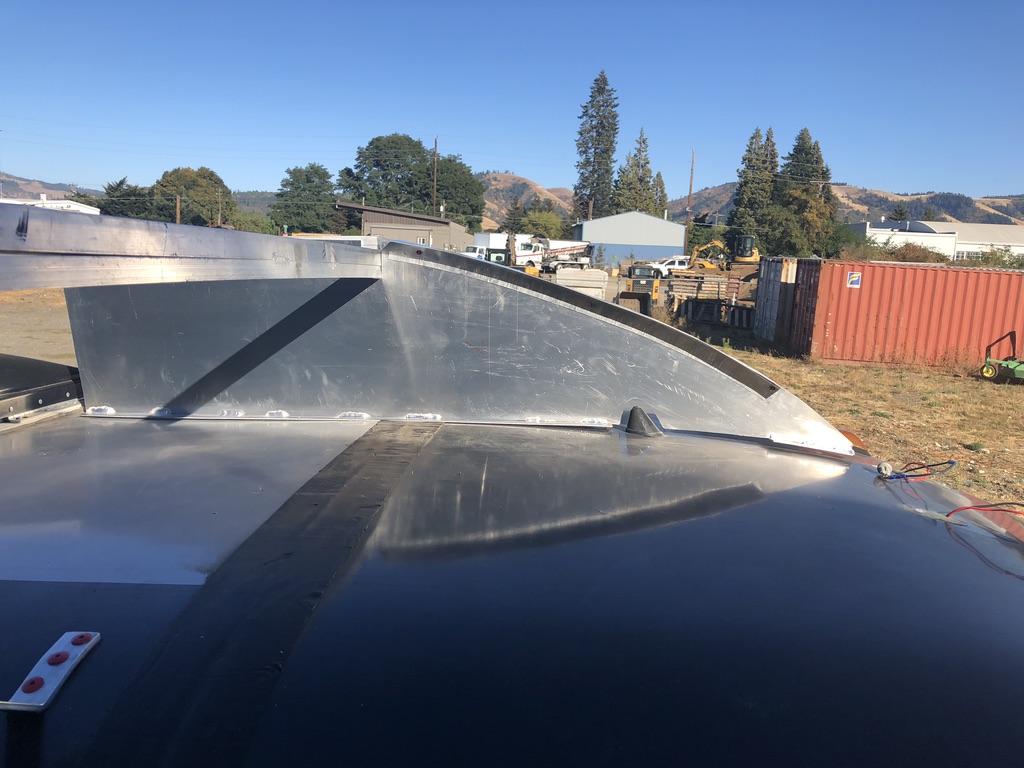
The rear support is somewhat visible in this photo. Prior to adding it the rear crossbar sagged about four inches. Not good.
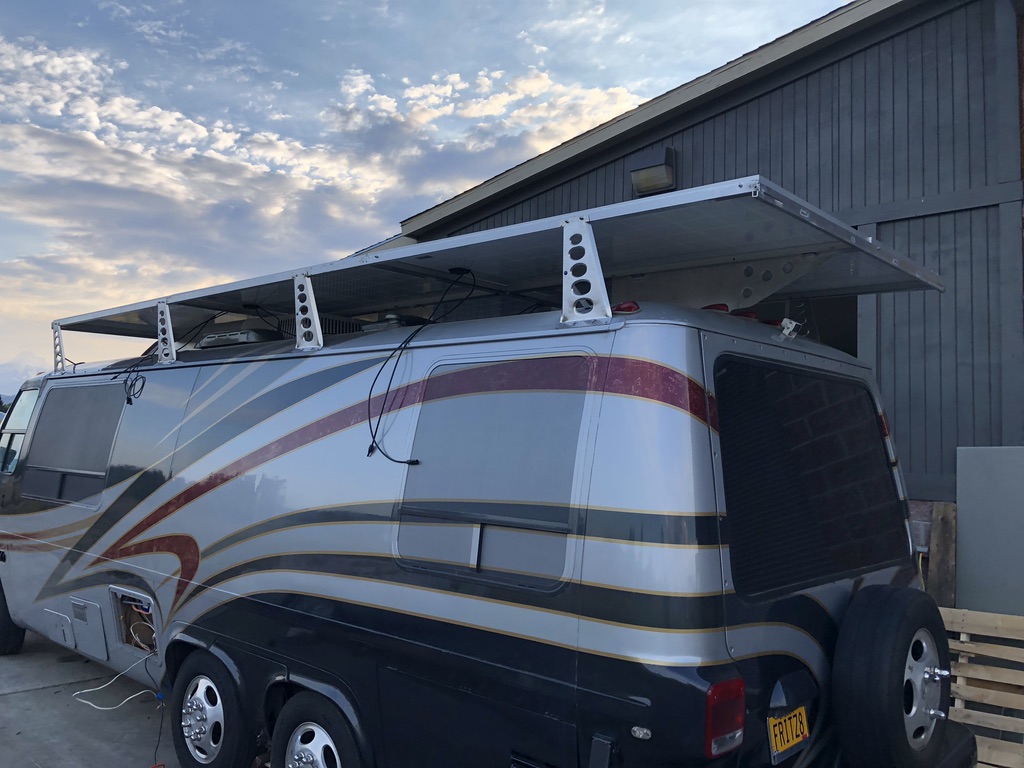
Here’s another shot. Kind of looks like I’m aiming for a little batmobile fin. It just kind of turned out that way
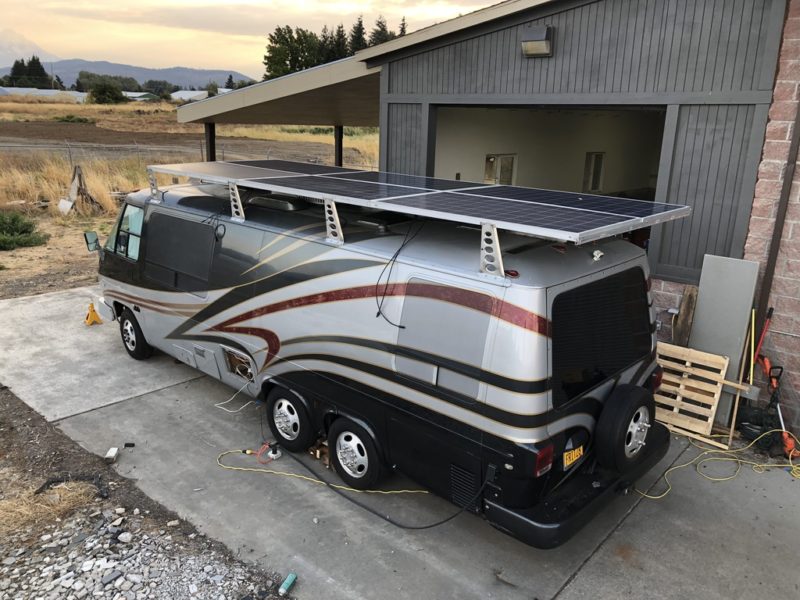
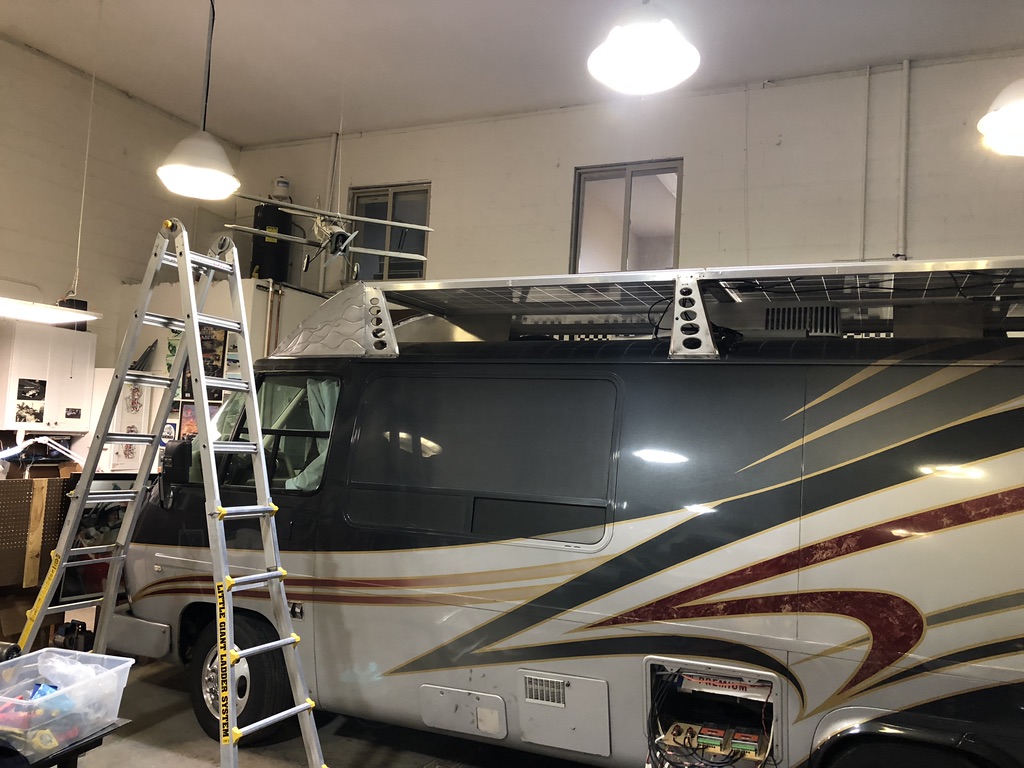
With all the panels in place and a middle support to hold the panels clear of the air conditioner, Fritz looks like this. I know that looks like a drone shot but it was just me on the top step of a shaky stepladder.

With everything bolted into place the rack is rigid and stout. No wobble at all. Nothing like a lot of aluminum and hours of welding to stiffen things up.
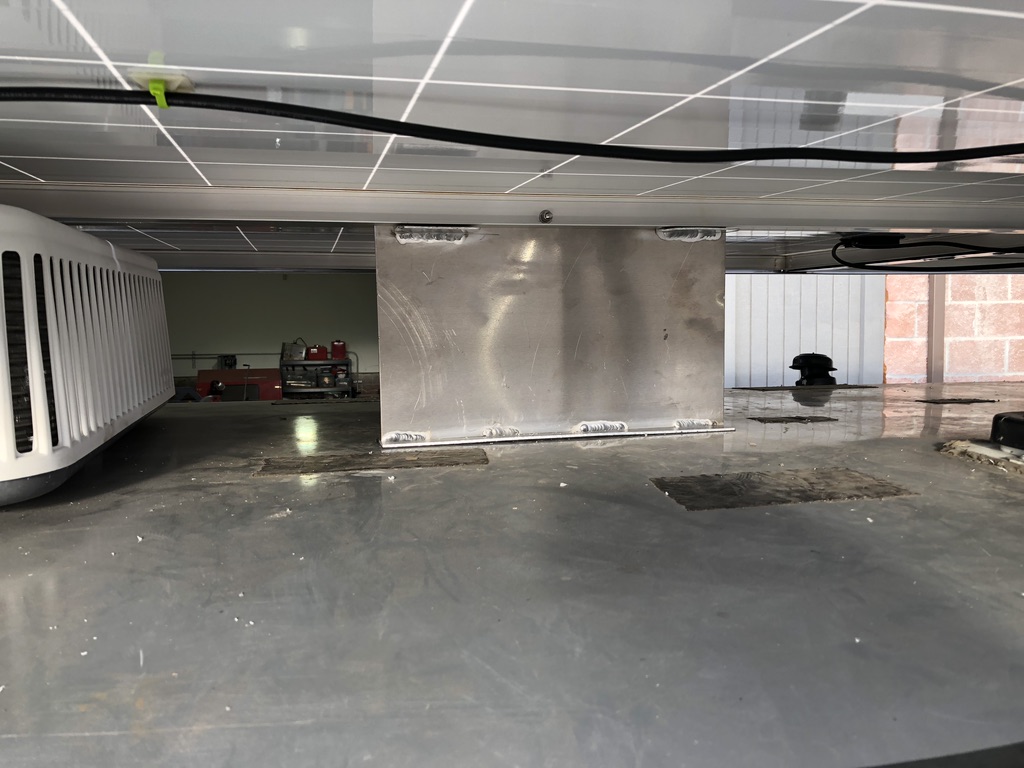
Here’s the middle brace. The welds are getting better. Some.
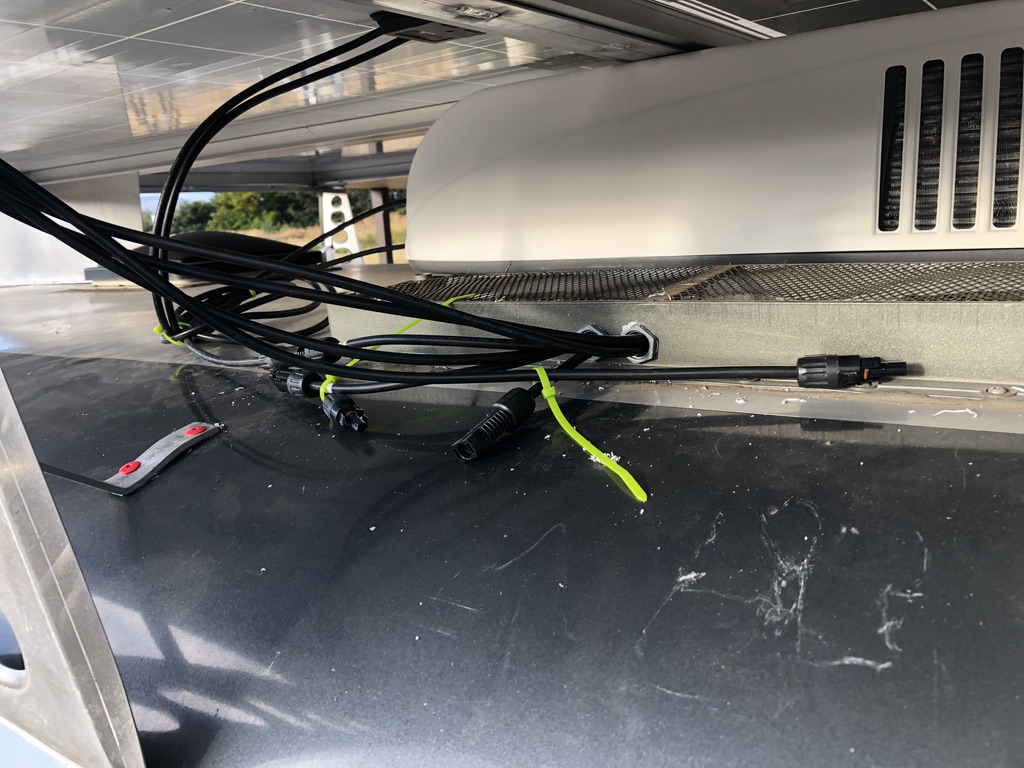
I decided not to use a combiner box since I’m using two controllers, and each controller has connections for two set of panels. My panels are connected 2S3P, meaning two panels in series, each at about 40VDC adding up to about 80VDC and 3 of those in parallel, 620 watts per set at 80V delivering 7.75 amps per set, 23.5 amps at 80 Volts total. 80V times 23.5 amps = 1860 watts. I added in-line 20 amp fuses to the MC4 connectors and ran them in through the side of my somewhat unnecessary refrigerator vent. My new refrigerator is a DC compressor type that doesn’t require outside venting. I’m using the vent to keep the toaster oven cool and I have two small vent fans that are thermostatically controlled above a plate warmer/food warmer shelf above the oven. They will probably never run.
I measured the output of my panels dumping to a big purely resistive load. I know motor loads are different, but lots of people have told me my panels will put out less power than they are rated at. Full Oregon sun at noon–2468 watts. I take that with a grain of salt, but it’s pretty tasty.
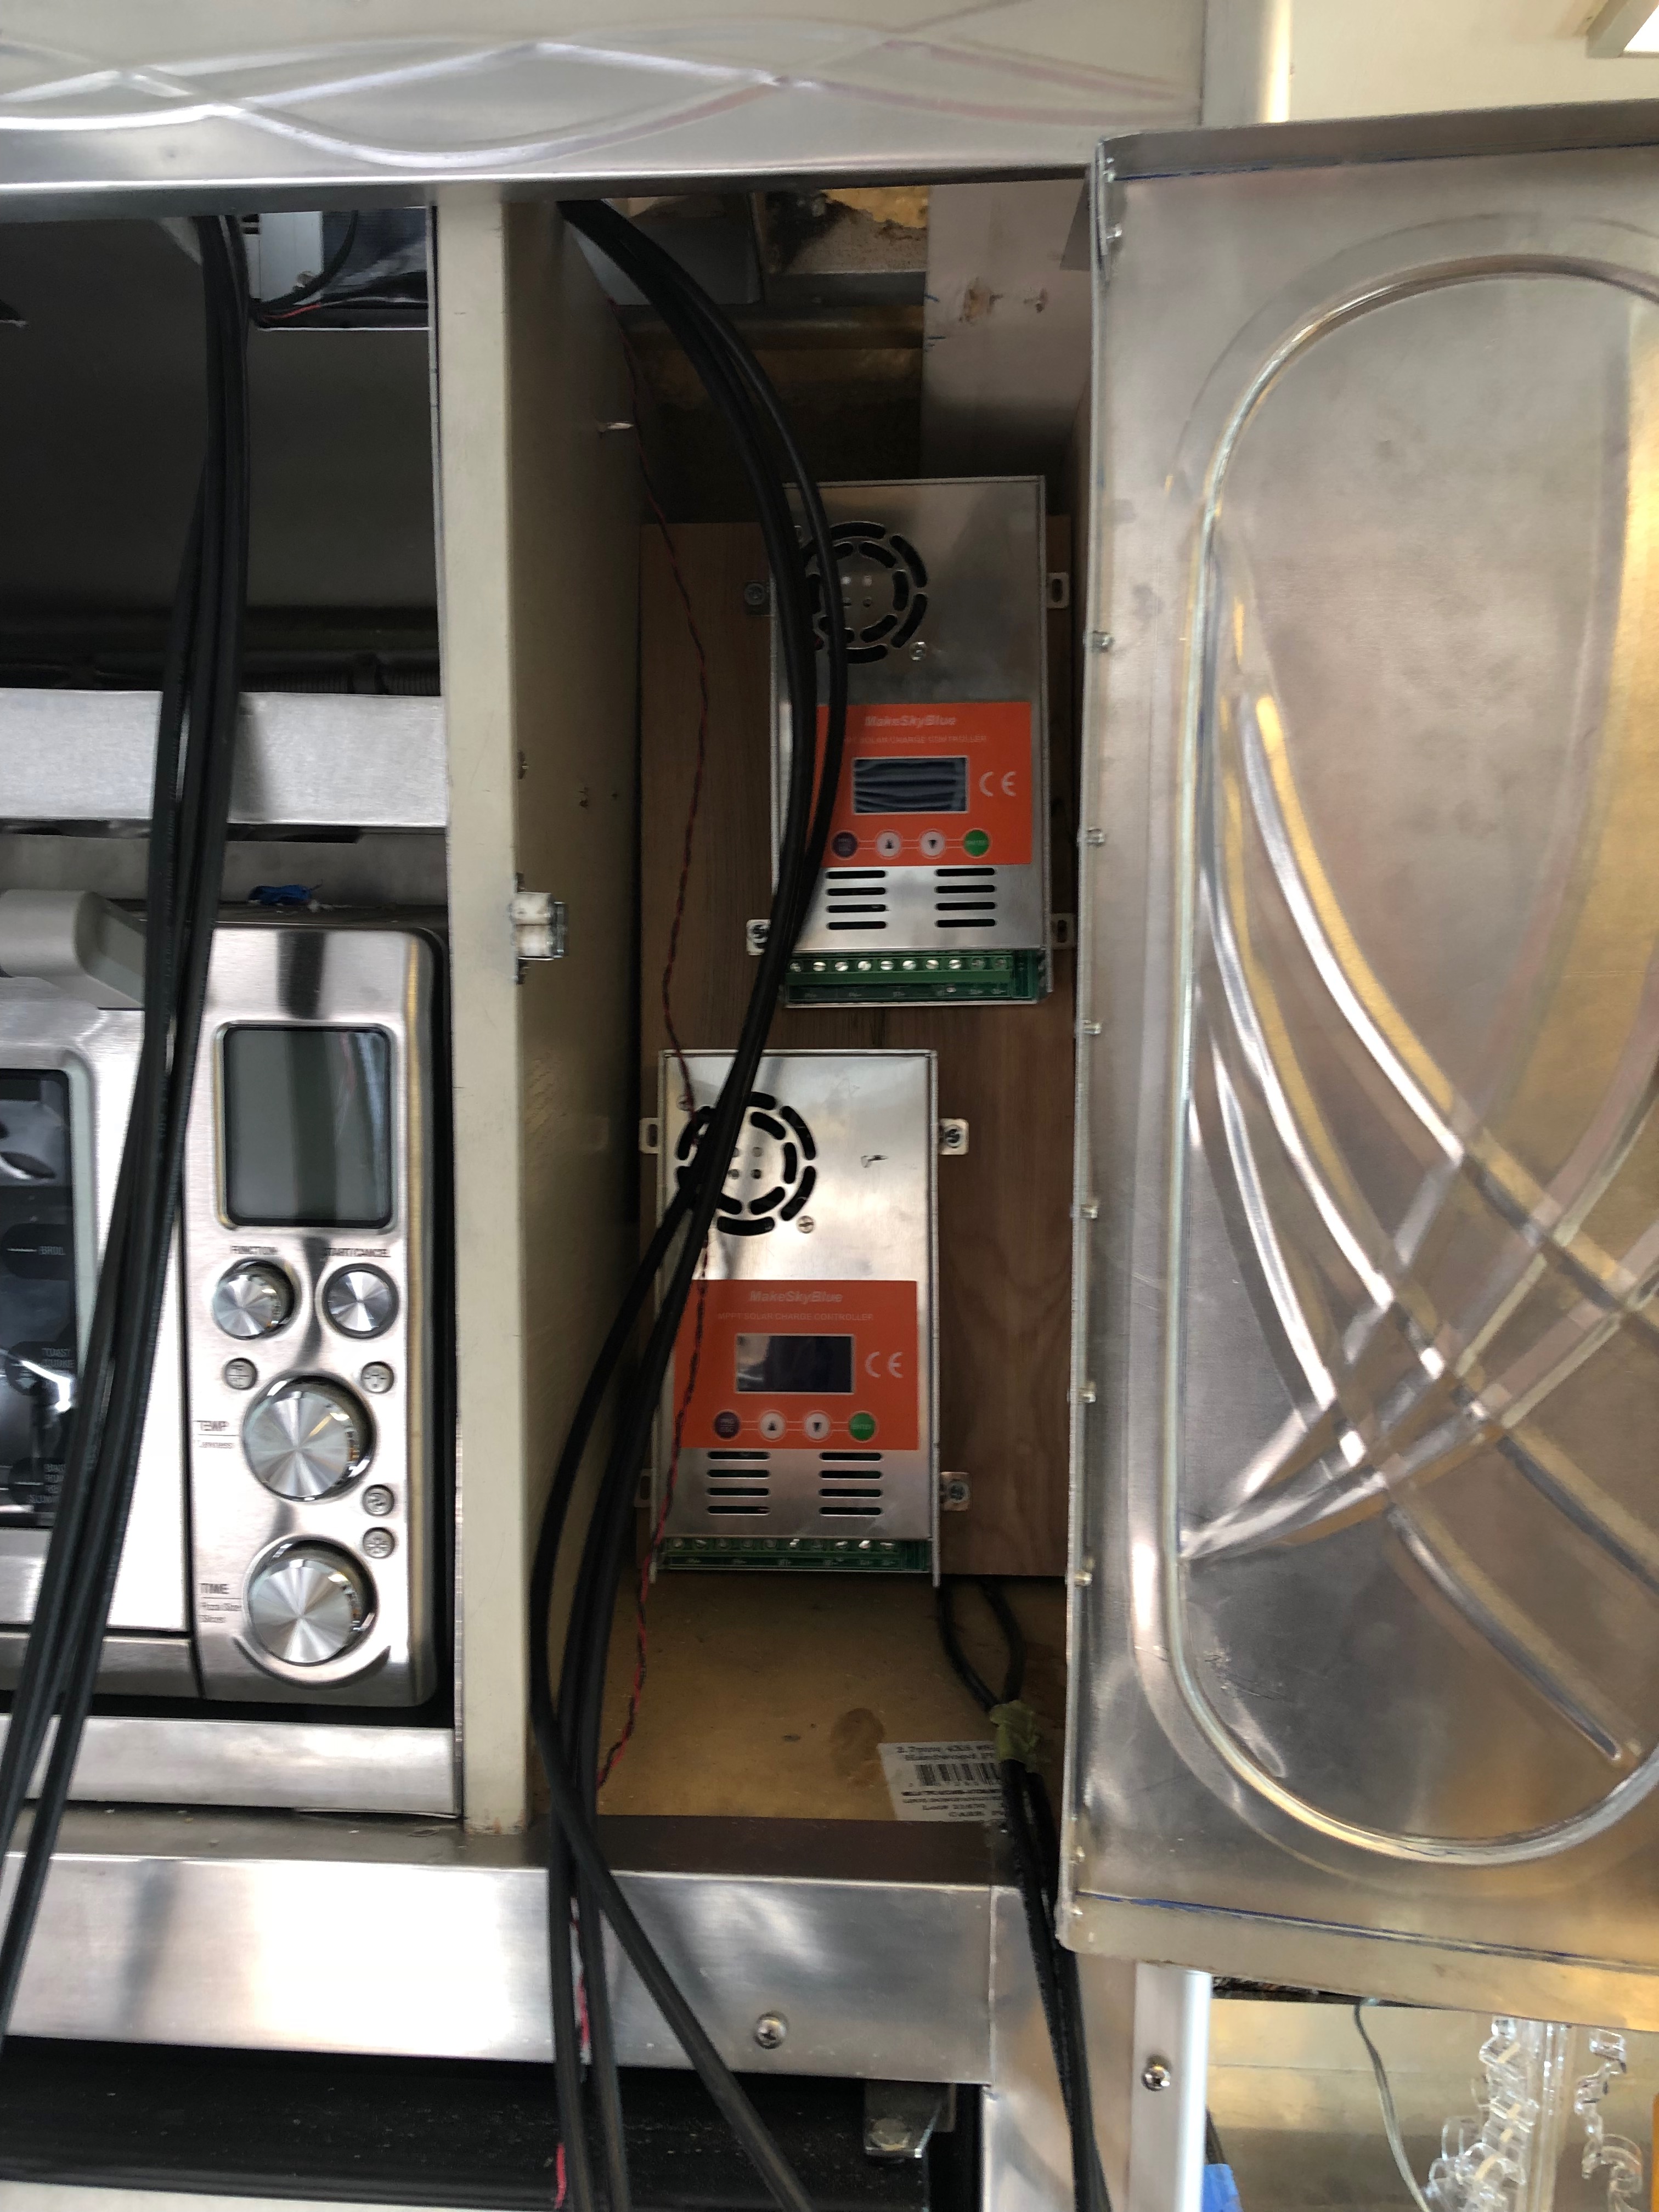
The first shot at installing the controller boxes up close to the top of the refrigerator in a handy cupboard space was unsatisfactory. Too much torque on the wires leading into the box, and no room to work. The batteries were going to be much lower in the cab anyway, and their wiring needs to be much stouter than the wiring from the panels.
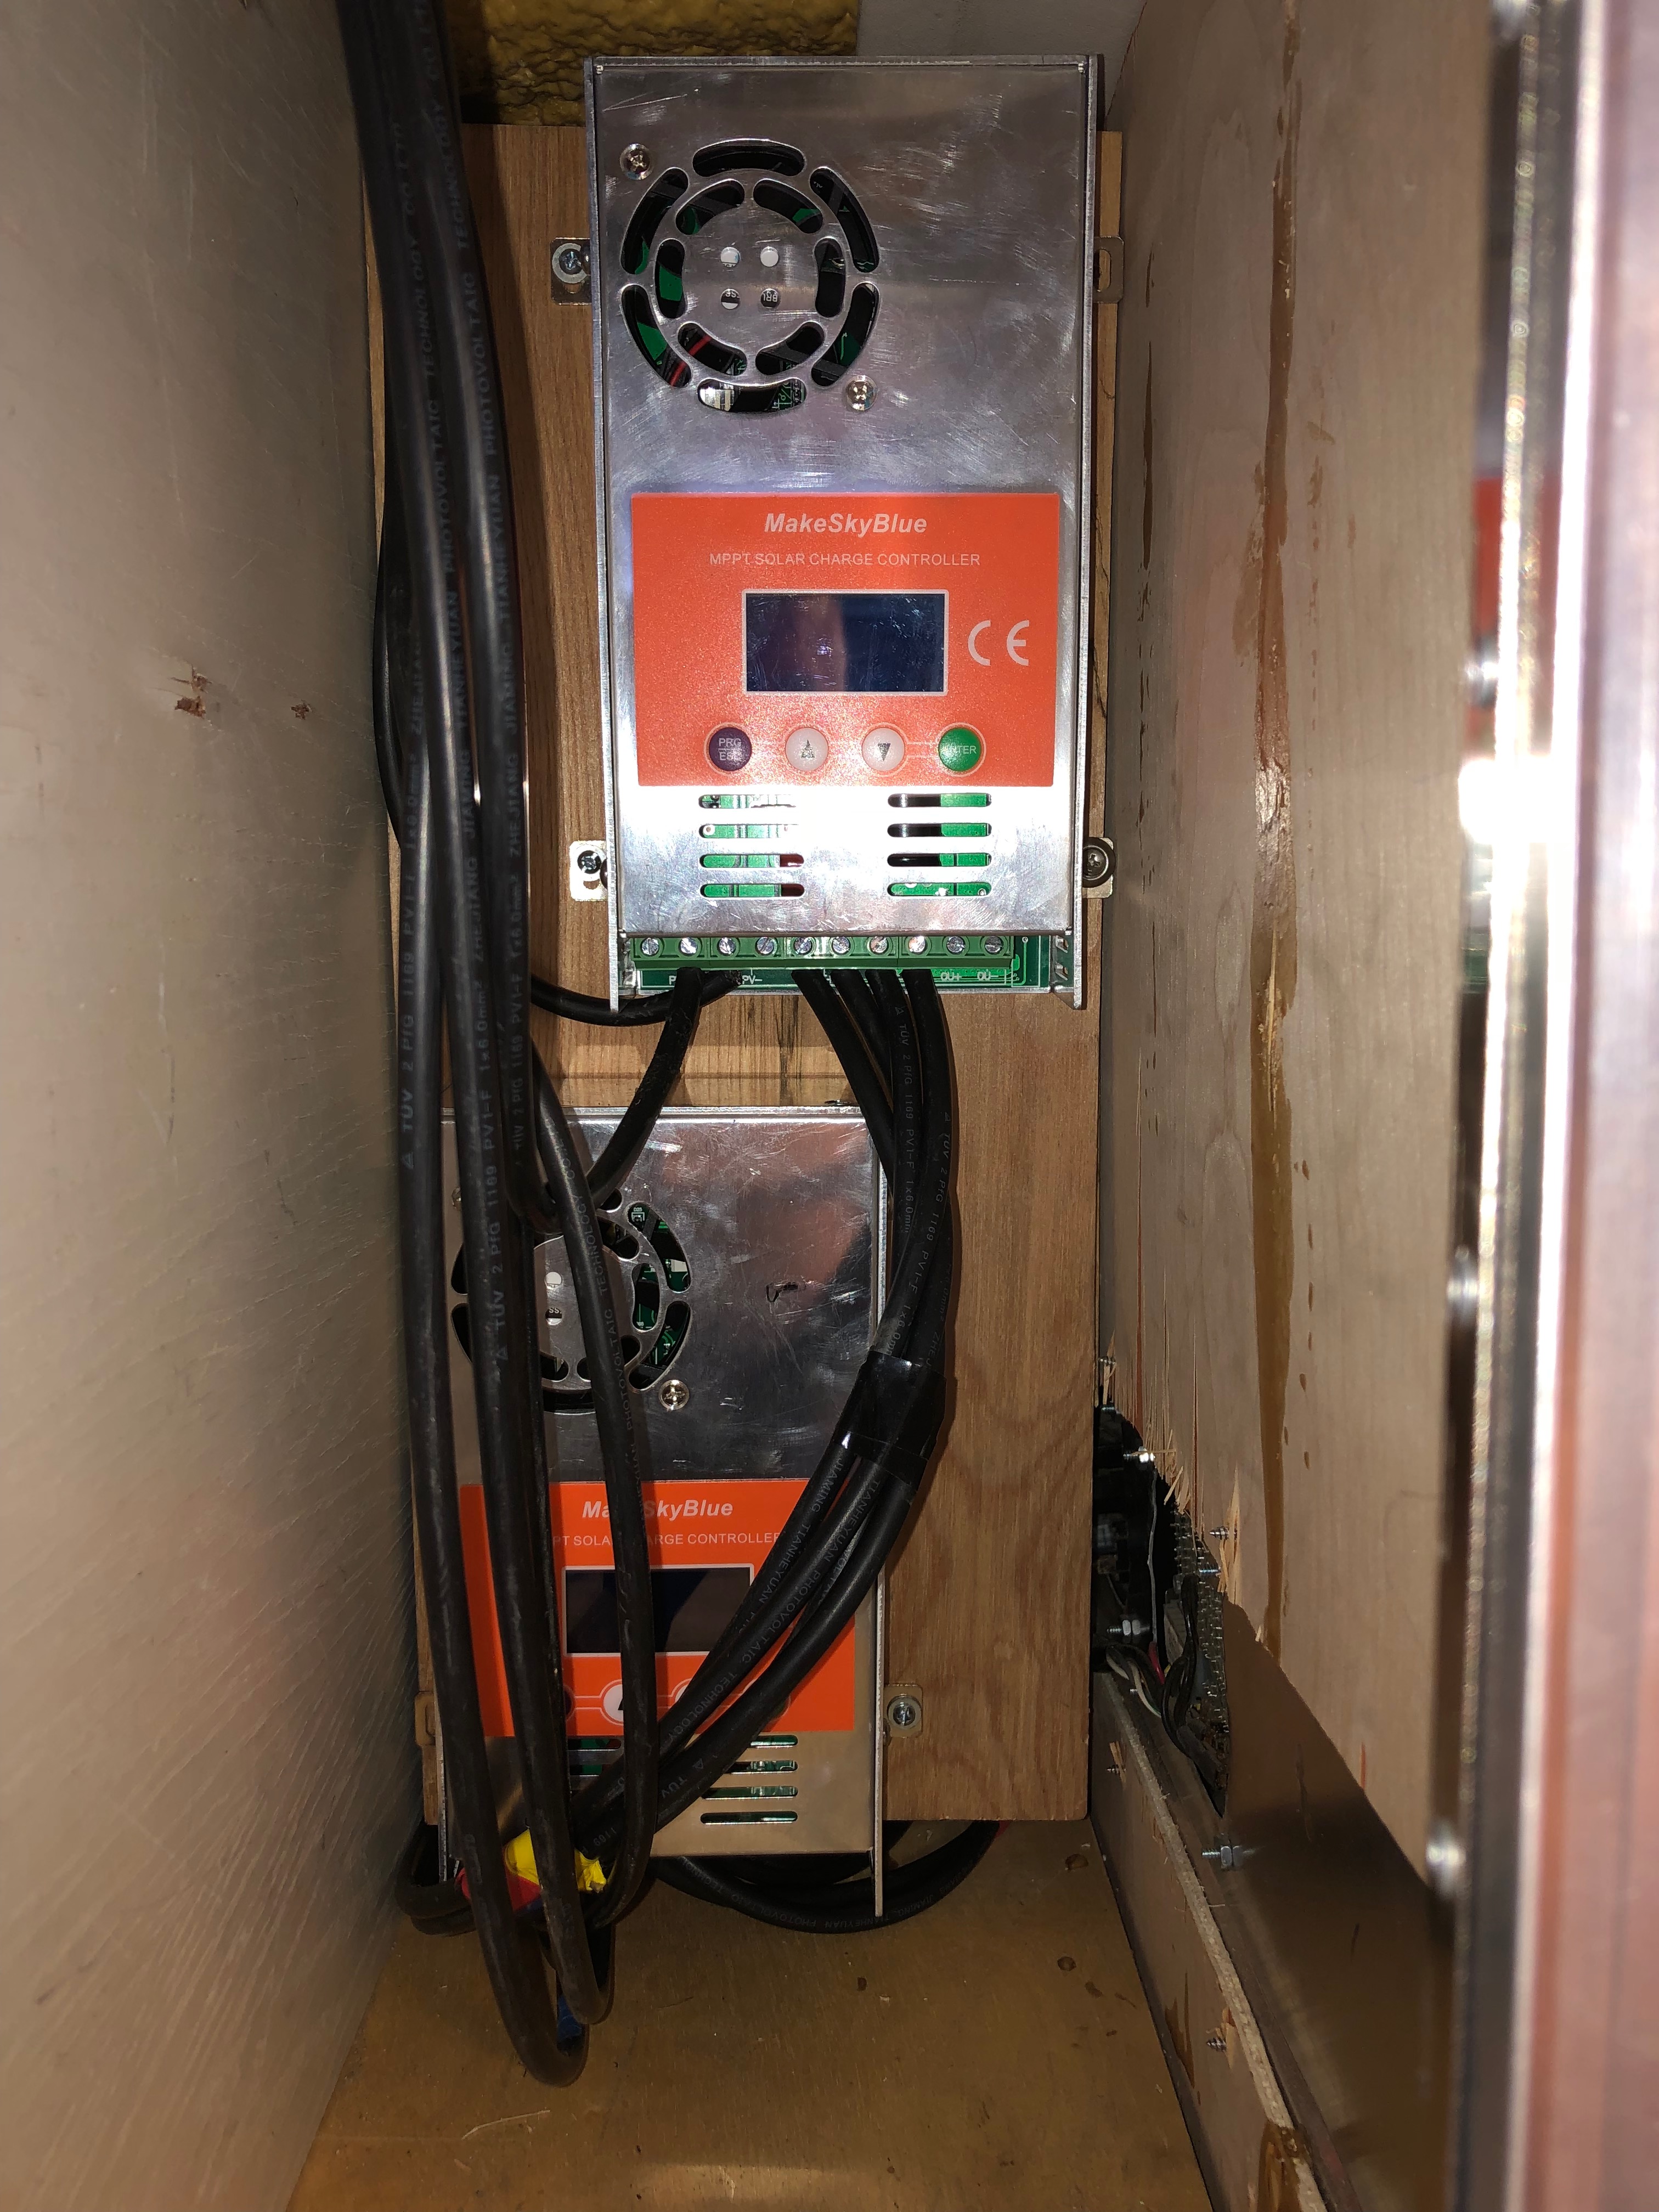
The controllers will combine all the panels at 80V and 22.8 amps and put out 24V at 70 amps. Actually, one panel will put out 24V at 23 amps (being fed from one series pair) and the other will put out 24V at 47 amps. This controller (Make Sky Blue) has balanced output on two lines, so I won’t have to use huge wires going to the batteries. They also have adjustable battery chemistry, so I might use AGM batteries for the motor being managed by the two-panel controller and lithium for the house batteries being charged by the four-panel controller. The motor batteries are exposed to the elements, so AGM might be a better choice. Lithium batteries can be damaged by charging or discharging them at very low temperatures. I’m not likely to need to worry about that, but why not make the best engineering decision.
The previous owner had a plethora of combiner and isolator switches installed. I might be able to make use of some of that. Perhaps run the inverter from the lithium batteries and house 12V DC from AGM. I’ll figure it out. I can’t simply connect the batteries together since they would operate at different voltages and I’d get some whopping equalizing current that did nothing good for anyone.
I decided to install the controller in also-unused refrigerator heater bay. I have this slick, new Glowforge laser cutter that I haven’t done much with, so I decided to make the controller panel with laser-cut maple plywood. I’d usually make it from aluminum, but this was kind of fun.
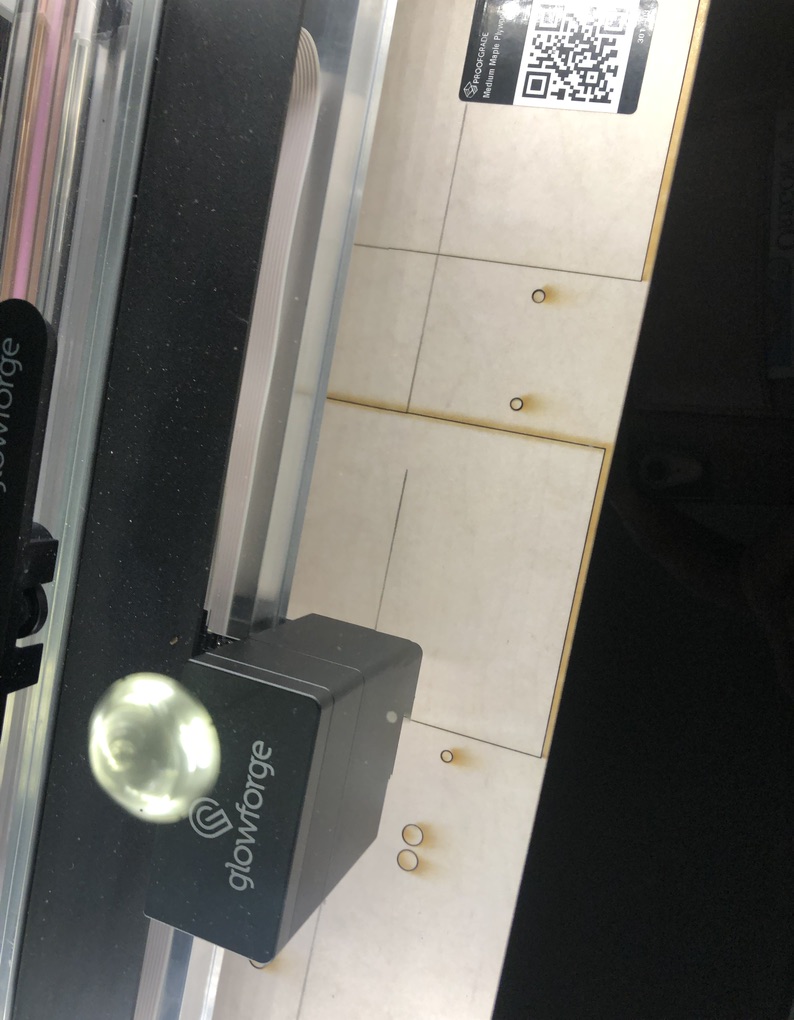
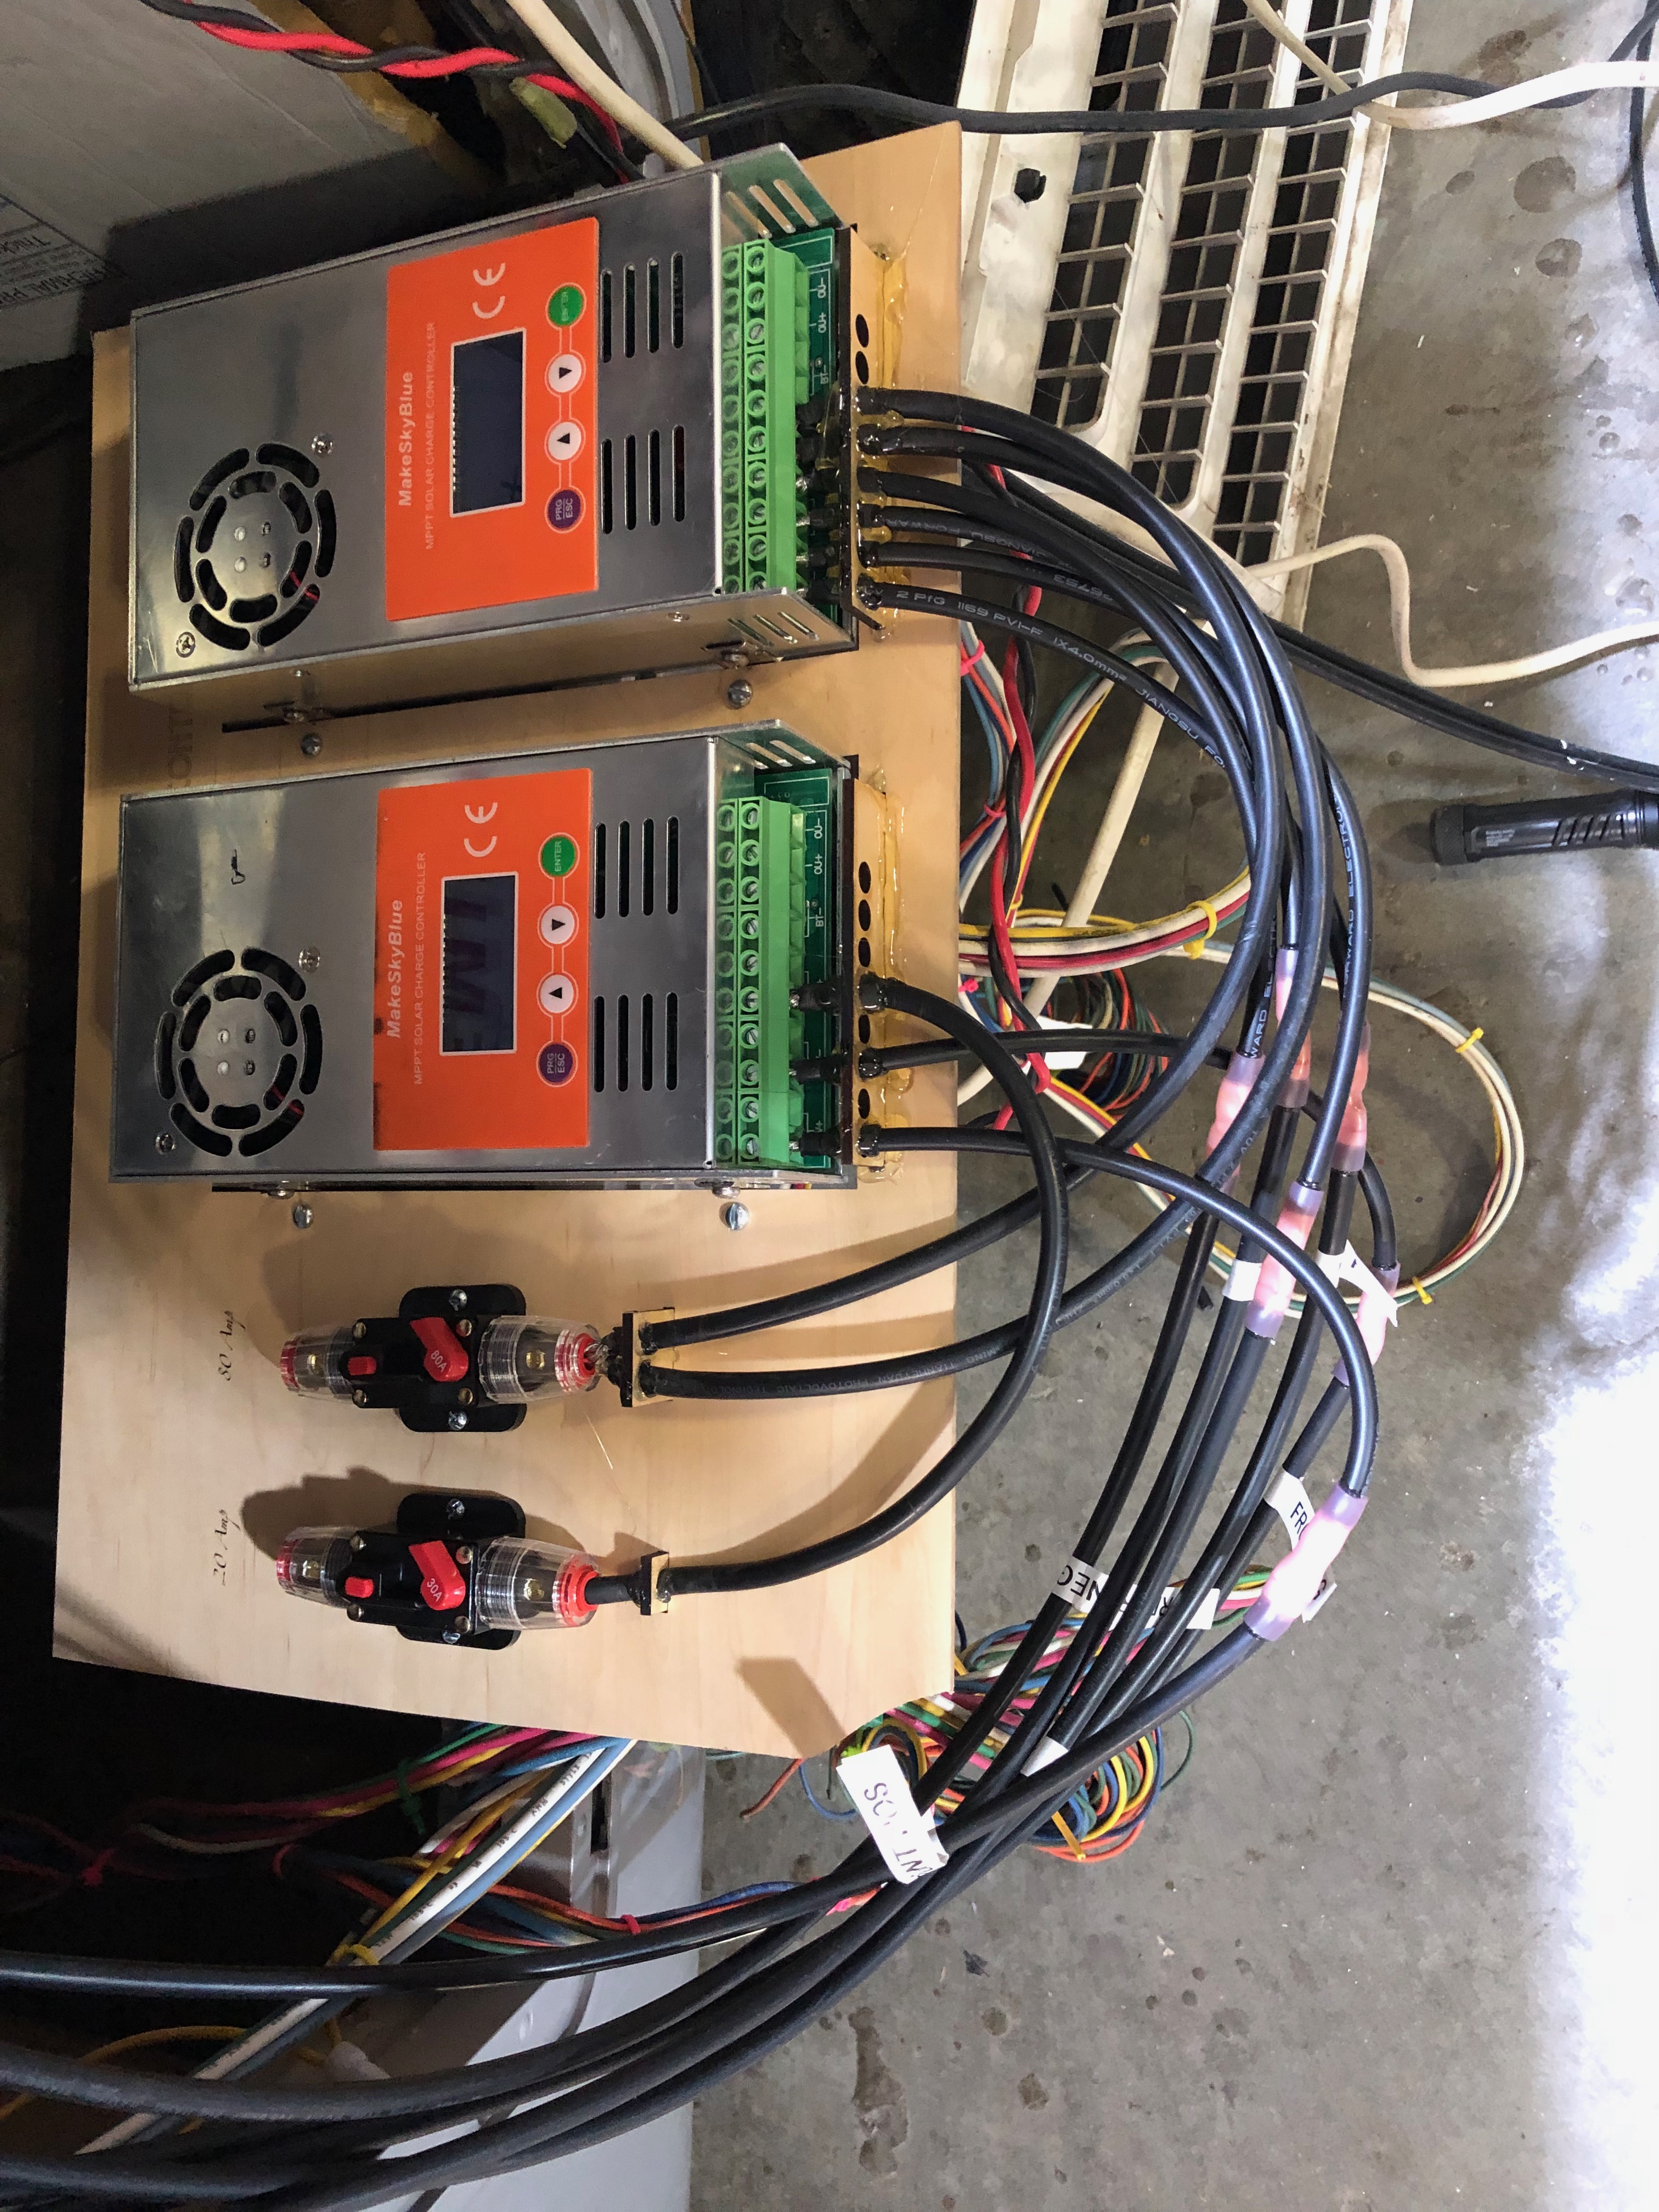
Cute, huh.
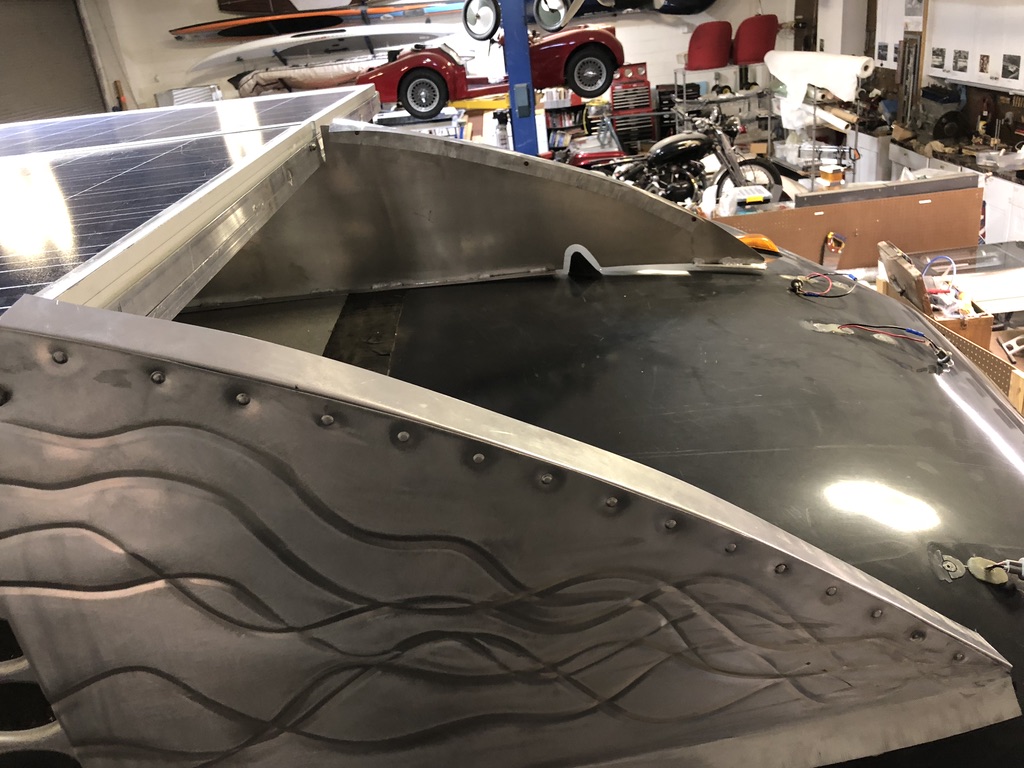
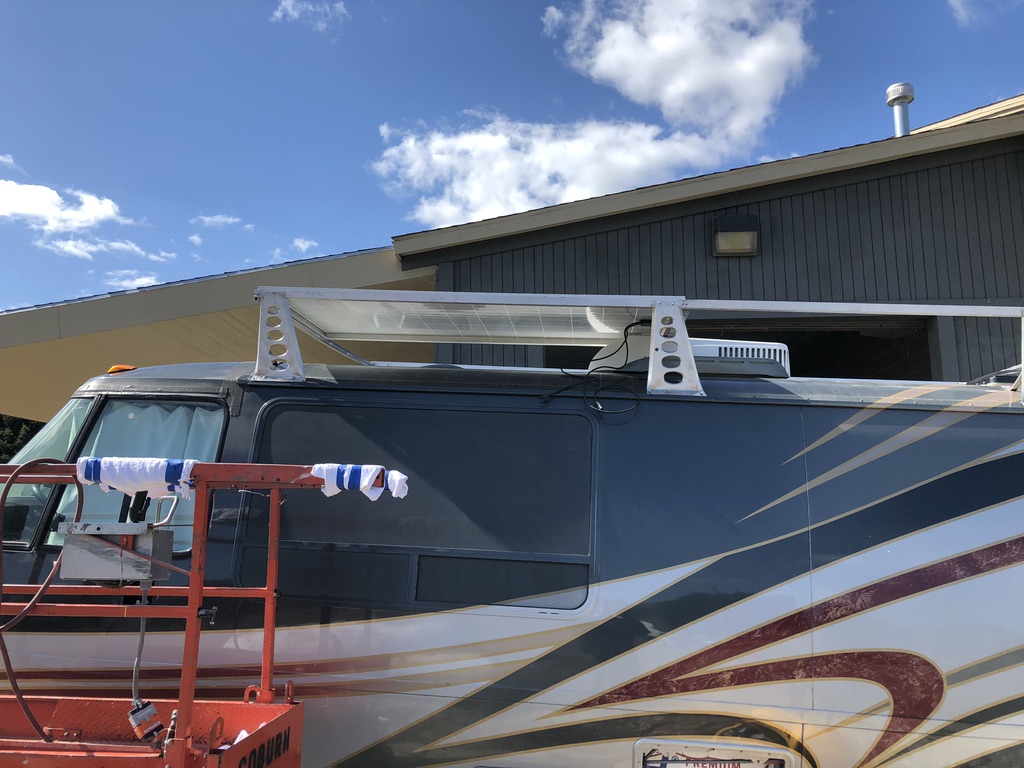
The side panels for the wind deflector are riveted and flanged to the top of the coach. It took a couple of tries to get a pleasing shape, but I’m kind of there.
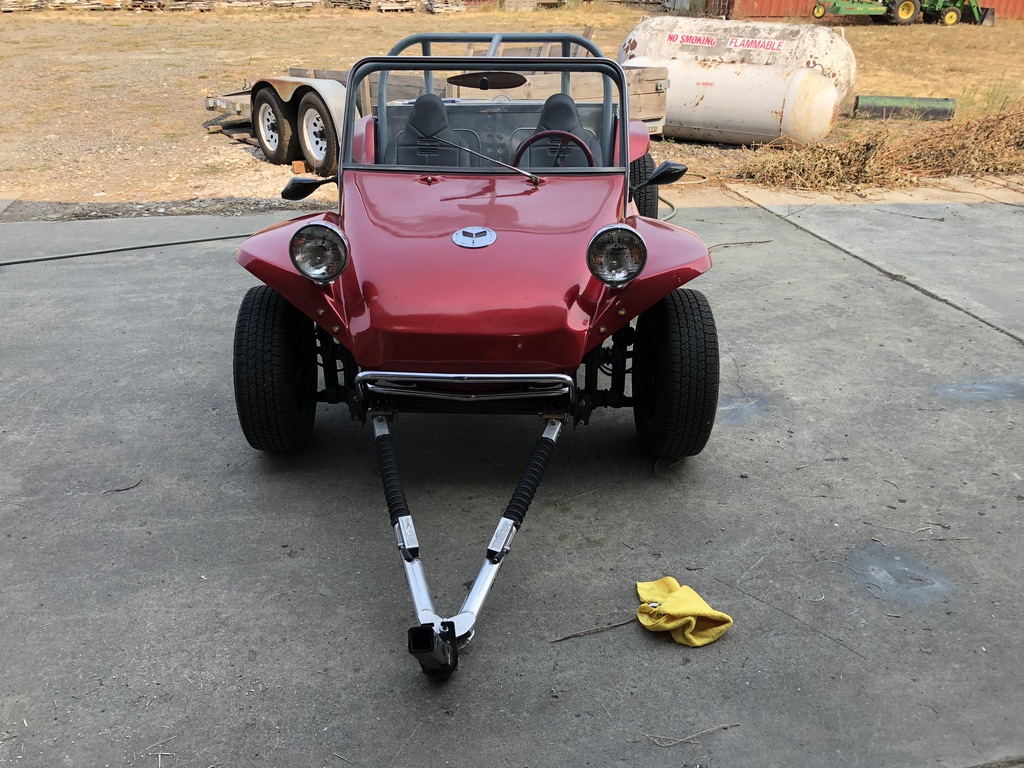
The deflector plate will attach with stainless button screws to rivet nuts on the ribs. I want to be able to remove the panels for access. The enclosure cargo doors along the side will work the same way. I plan to cover the roof with EVA foam–basically yoga mat stuff–and have vented cargo doors along the side–storage space for outdoor stuff, surfboards, foil boards and maybe a downwind board. We’ll also be towing Archie, our dune buggy, and it’s roll bar can carry surfboards. If only so it looks cool.